
MANUAL INDEX
Starting a videoconference
Jitsi meet
Zoom
Google or Microsoft
Starting a videoconference
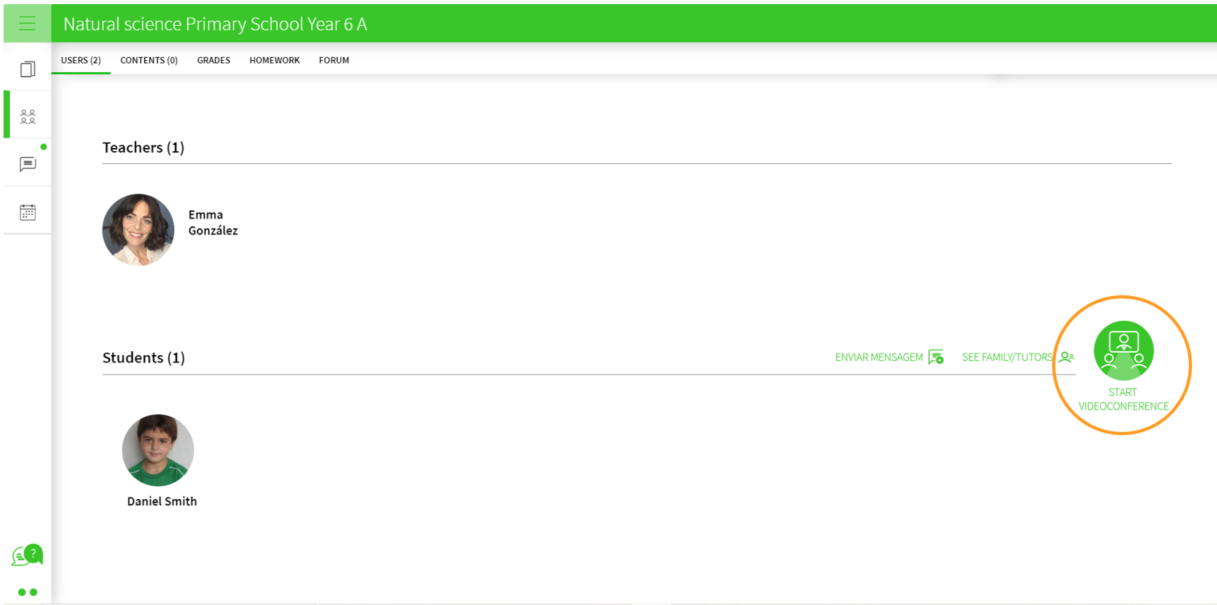
If you have a Premium user as a teacher, you can hold videoconferences with your students by giving them access from BlinkLearning.
To do this, go to the Classes section, under the USERS tab and verify that you have a class created with your students. Then click on START VIDEOCONFERENCE

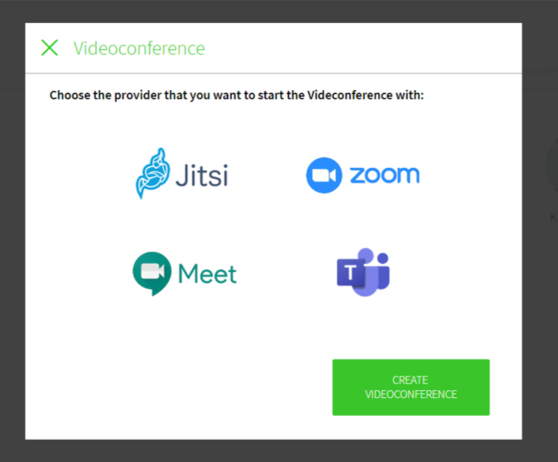
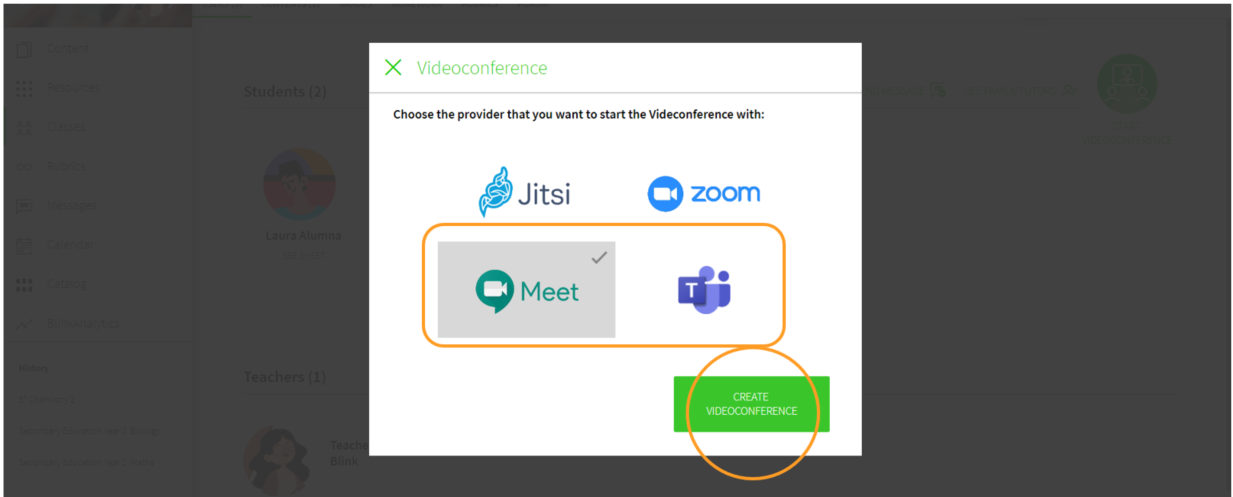
These are the four options for creating a videoconference. The following instructions show you how you can schedule each one.
Jitsi Meet
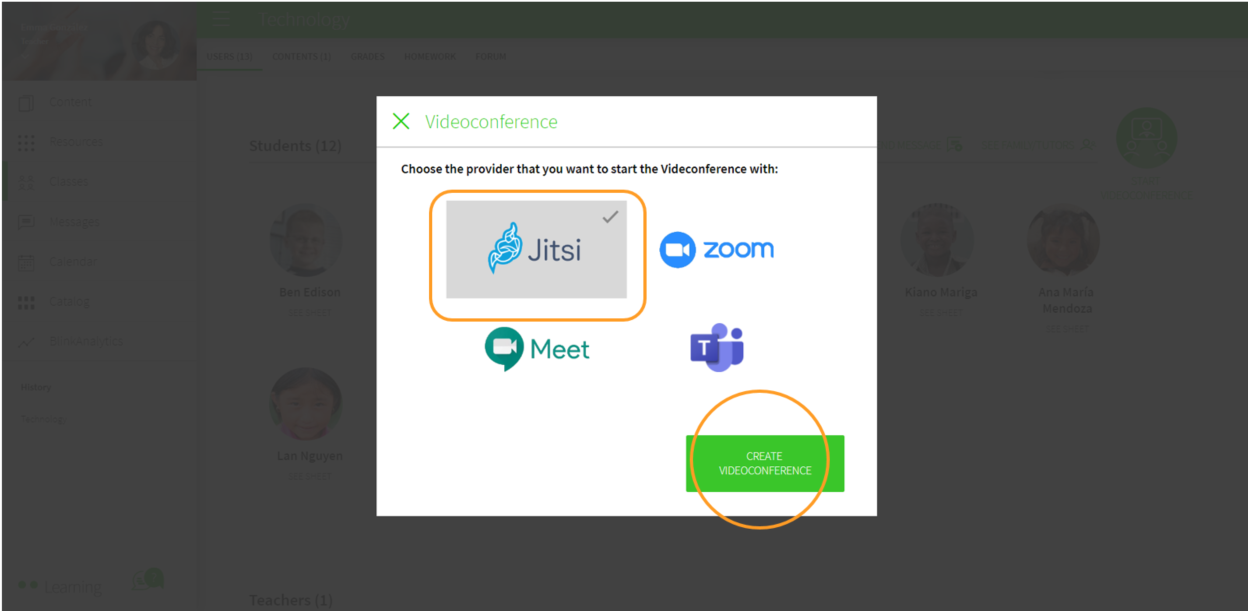
1- TEACHER: Select the Jitsi option and then click on CREATE VIDEOCONFERENCE
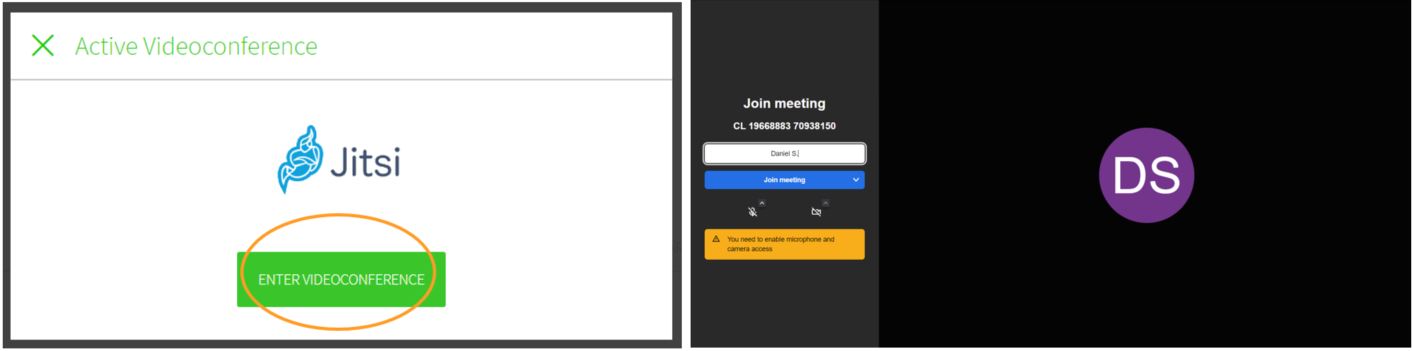
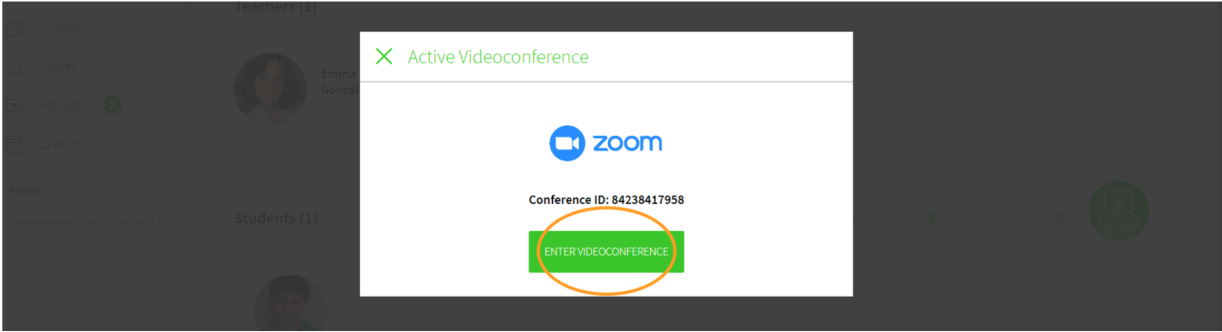
To begin, click on the button ENTER VIDEOCONFERENCE
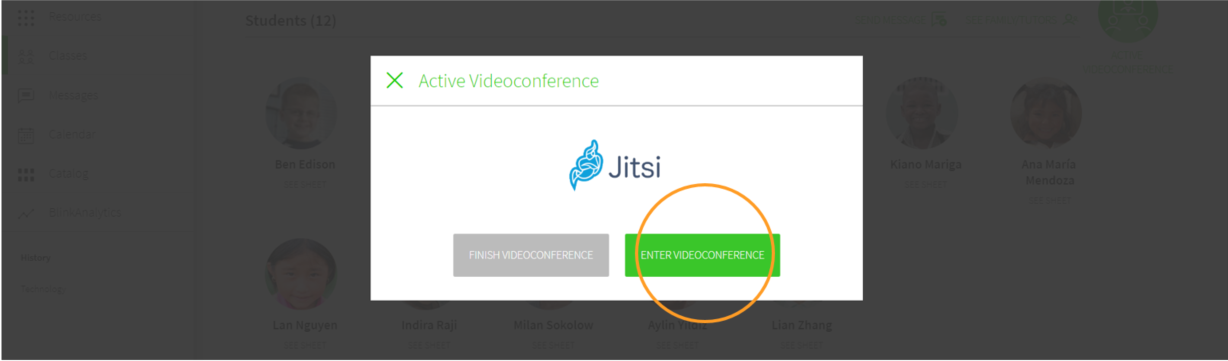
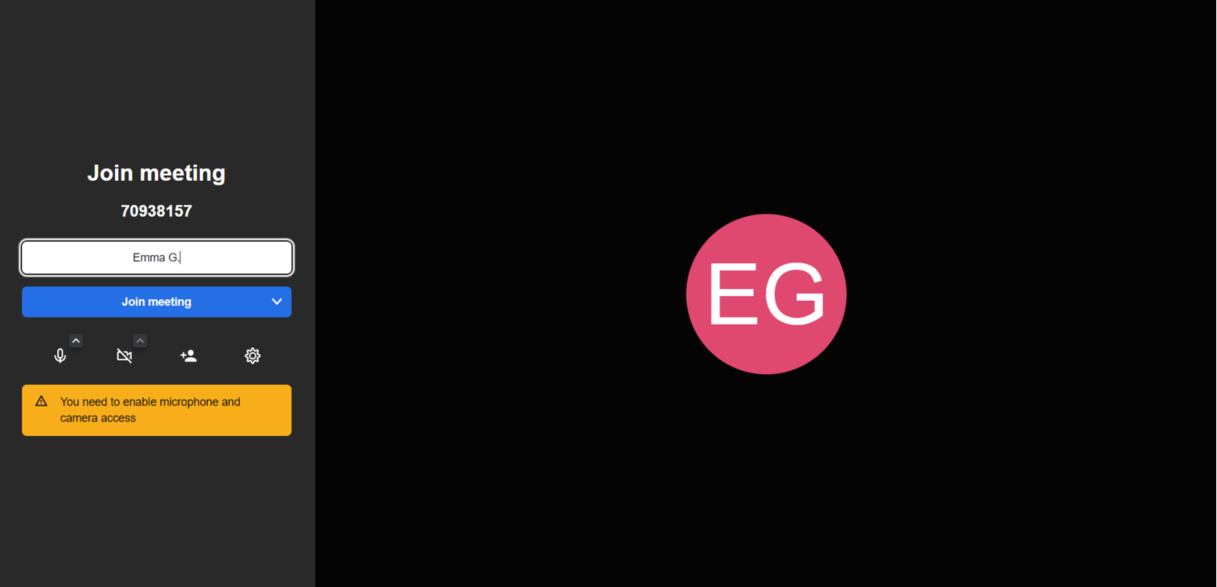
It will take you directly to the Jitsi Meet platform, where you can start your videoconference. You can also copy the link and send it.
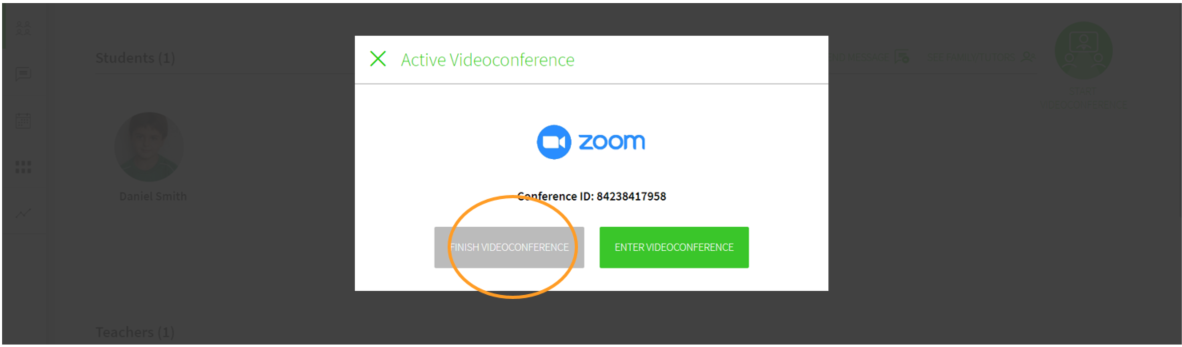
To finish, go back to your profile and click on end videoconference.

2- STUDENTS: In their profiles, the meeting will also be shown in the USERS tab once the teacher has started it. Here they should click on the button START VIDEOCONFERENCE
Then click on ENTER VIDEOCONFERENCE to also access the meeting.
Zoom
1- TEACHER: You must have a Zoom account to schedule a meeting.
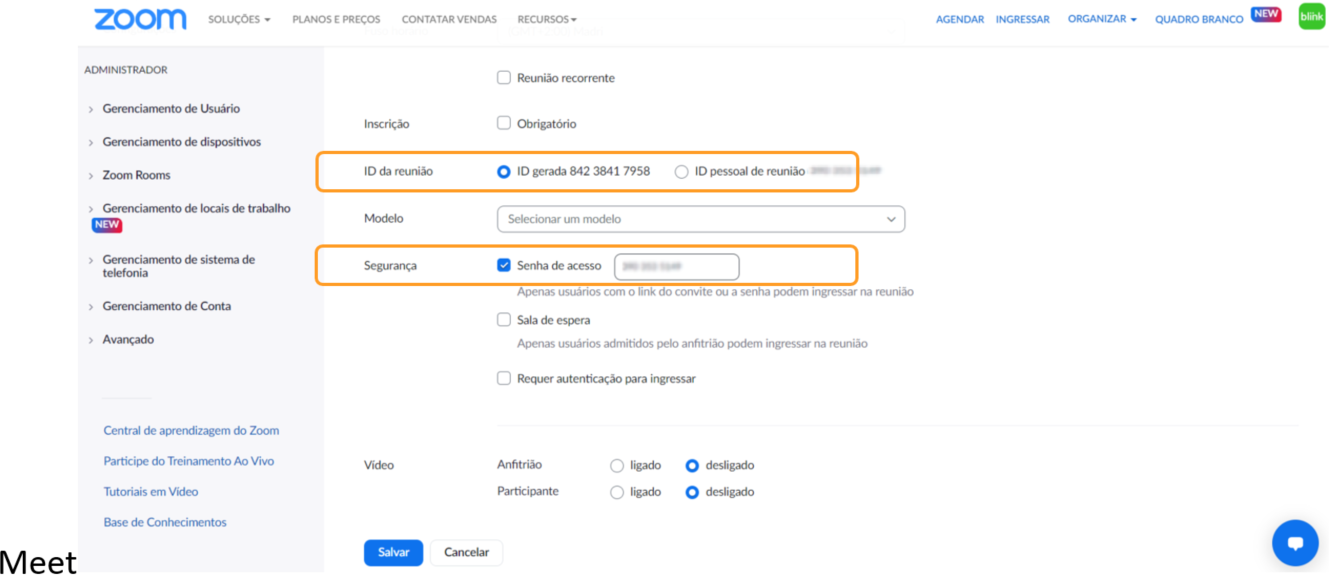
You can automatically create it with a meeting ID (a different ID will be generated for each of your meetings) or a personal ID (your personal ID, valid for all your meetings).
You can also check the Passcode box to require your students to enter this password when accessing or uncheck it to give them non-secure access.
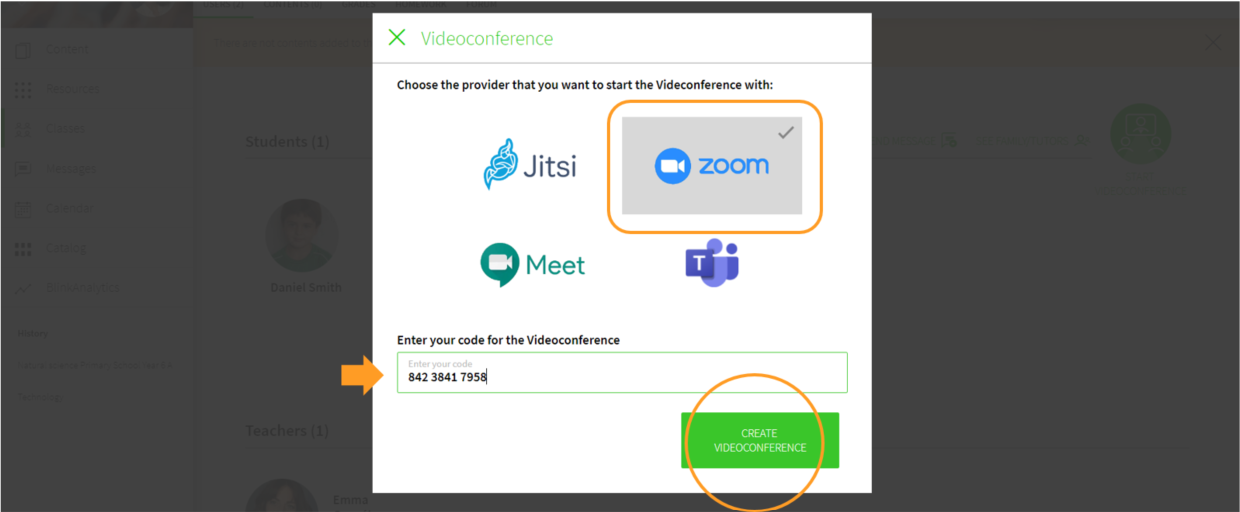
Once created, you will be able to see all the information. Copy the meeting ID and go back to your BlinkLearning profile.
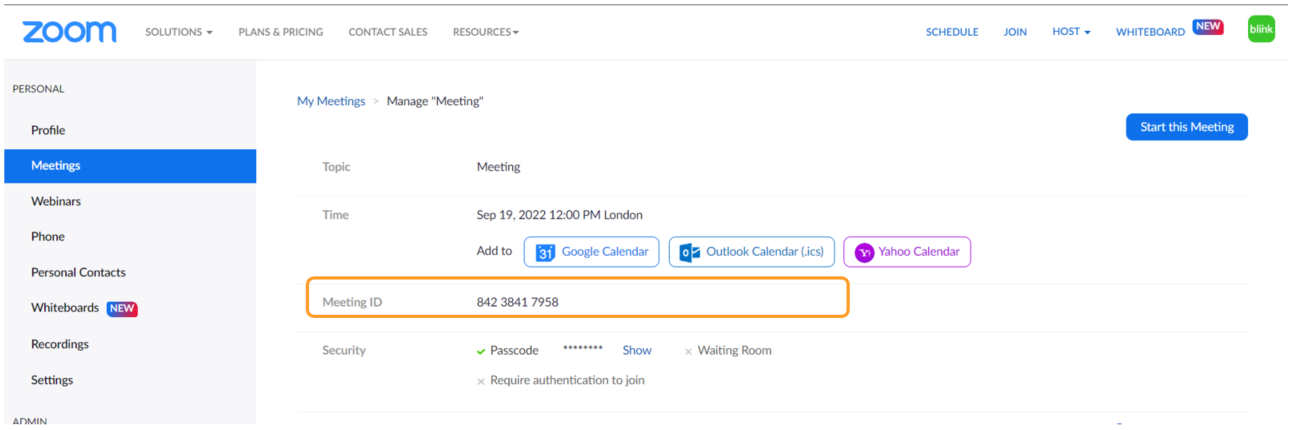
Select Zoom. paste the meeting ID and click on CREATE VIDEOCONFERENCE
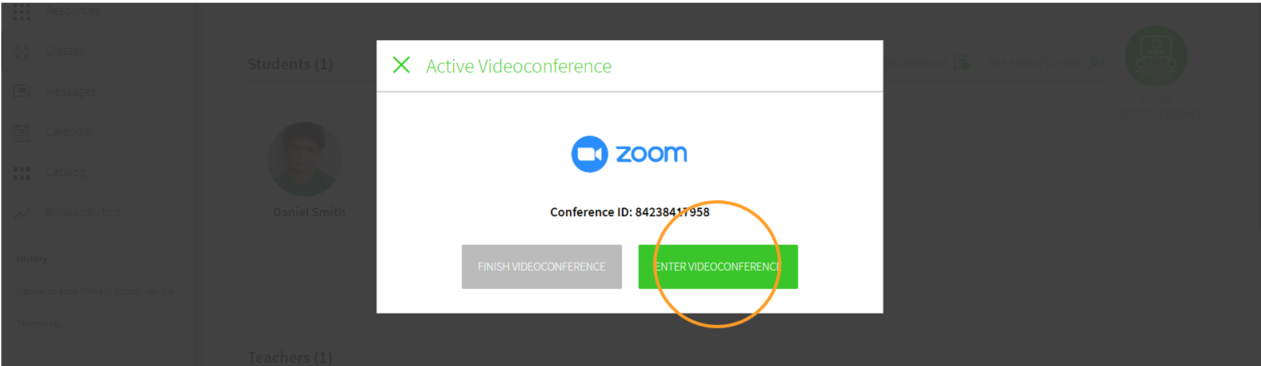
To begin, click on the button ENTER VIDEOCONFERENCE
A link to Zoom will open (if you have not downloaded the application, click on Download now and run the installation wizard).
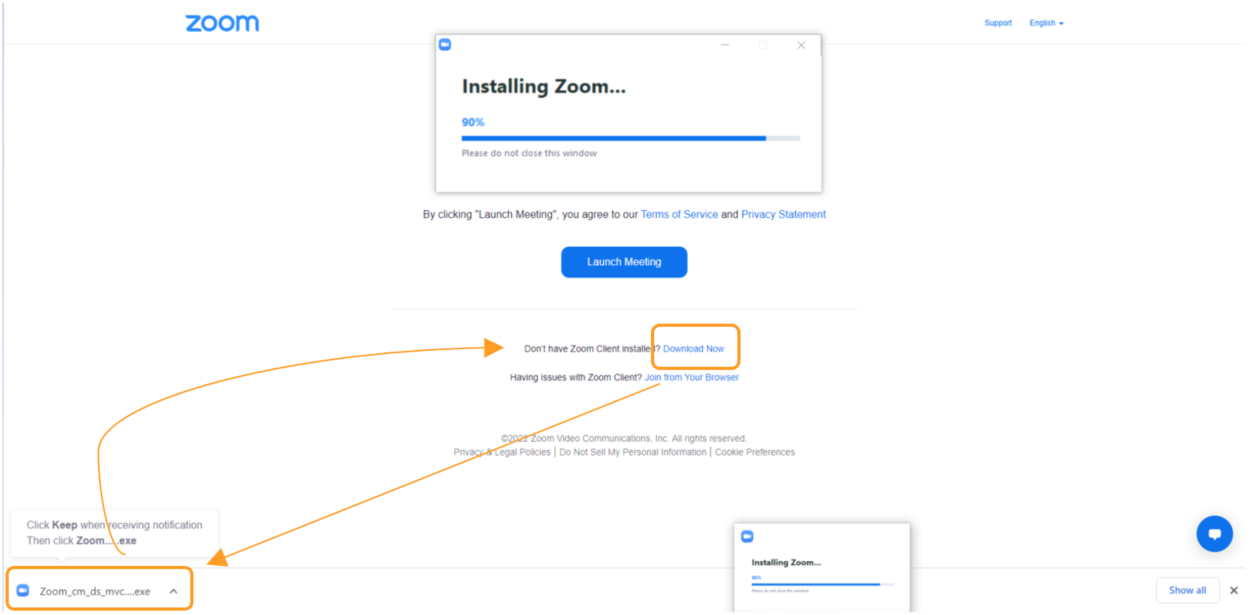
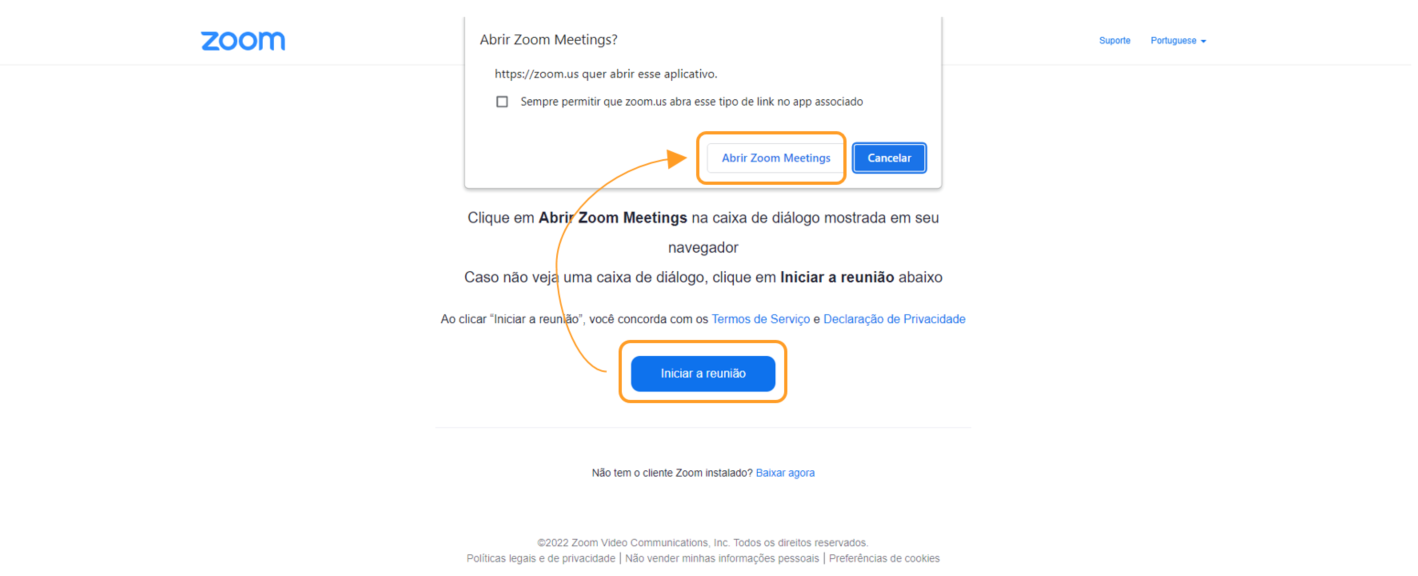
Click on Launch meeting, and then click on Open Zoom Meetings.
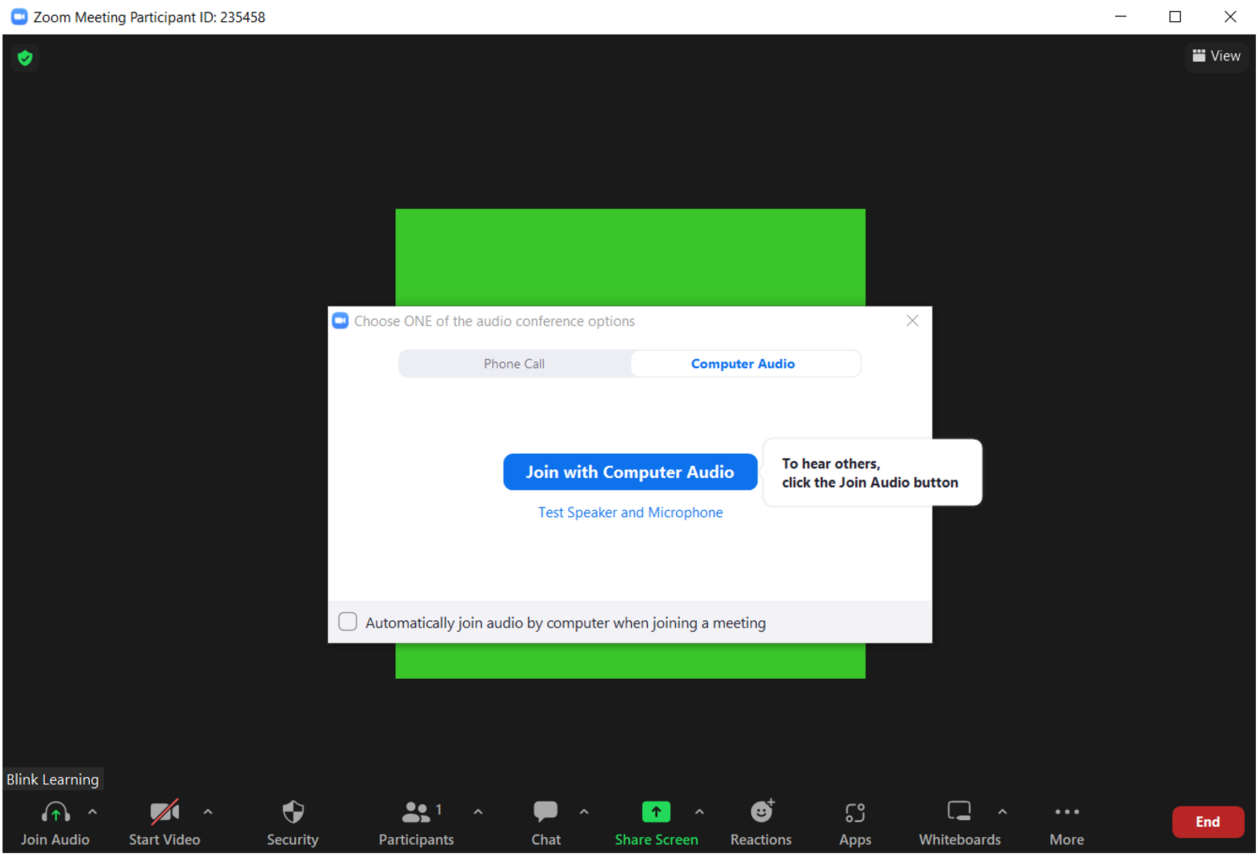
Finally, adjust the audio settings. You will be able to accept the students joining your video conference at the bottom of the screen.
 When you are done, go back to BlinkLearning and click on END VIDEOCONFERENCE
2- STUDENTS: The invitation will be shown in their profiles, in the USERS tab to access from the START VIDEOCONFERENCE button without the need to sign up or log in to the Zoom platform.

Then click on ENTER VIDEOCONFERENCE
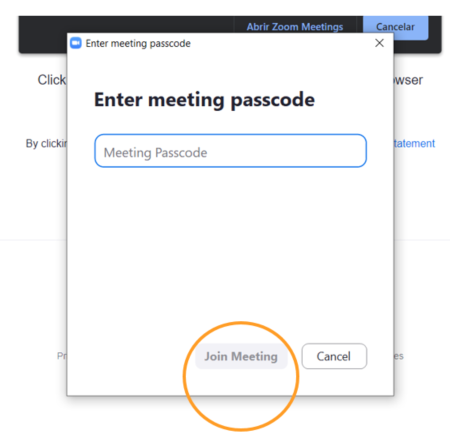
Here you will have to add the password if this is how the teacher has set up the meeting room and click on ENTER again.
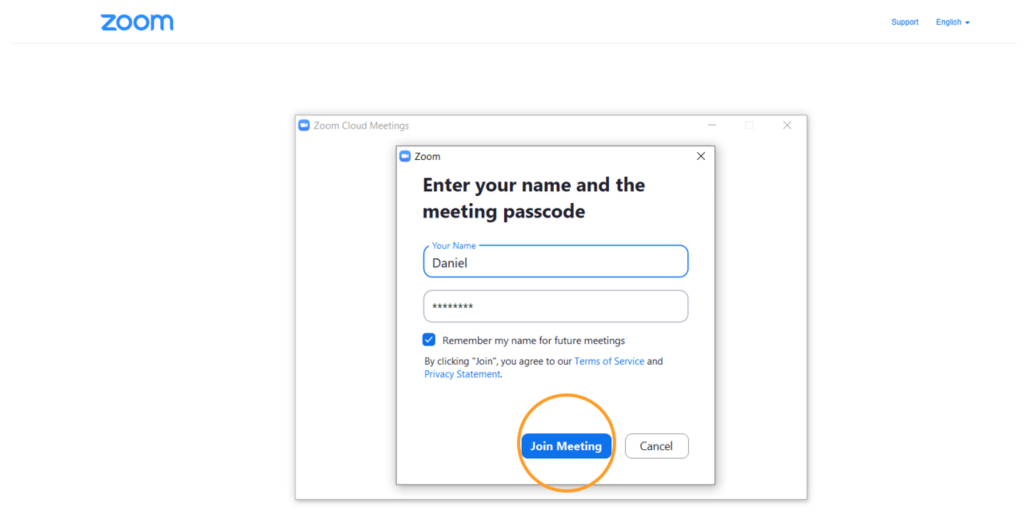
To finally join, they will have to choose a username, pass the reCAPTCHA test to prove they are not robots and click on ENTER to access the meeting room.
Google or Microsoft
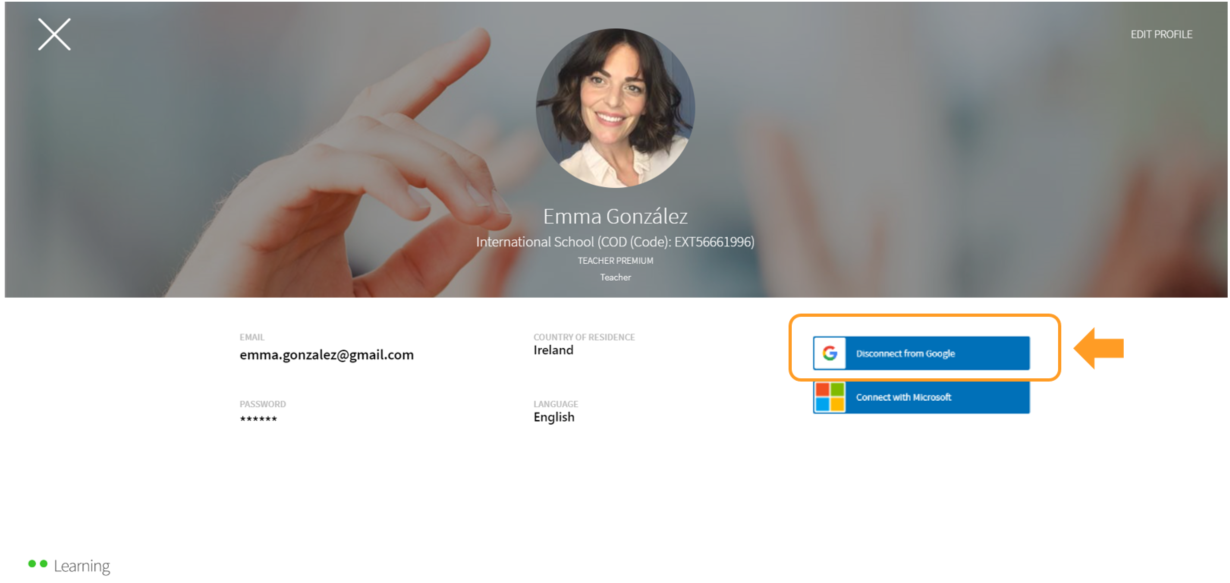
1 - TEACHER: The last two options are only available if users are connected to their Google or Microsoft account. You can verify this on your profile.
Select START VIDEOCONFERENCE in the third option for Google or in the fourth option for Microsoft.
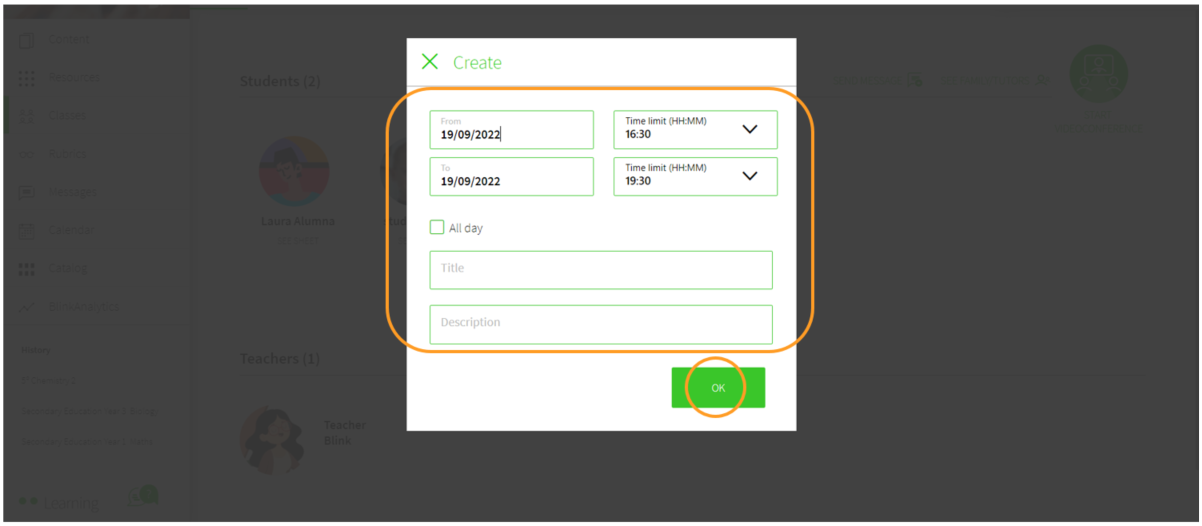
Enter the required fields to create the Event on the calendar, which will be scheduled as a meeting, and click on Create.
An event in the Calendar tab will be created. You can use this link to access your Google or Microsoft calendar and join the video conference.
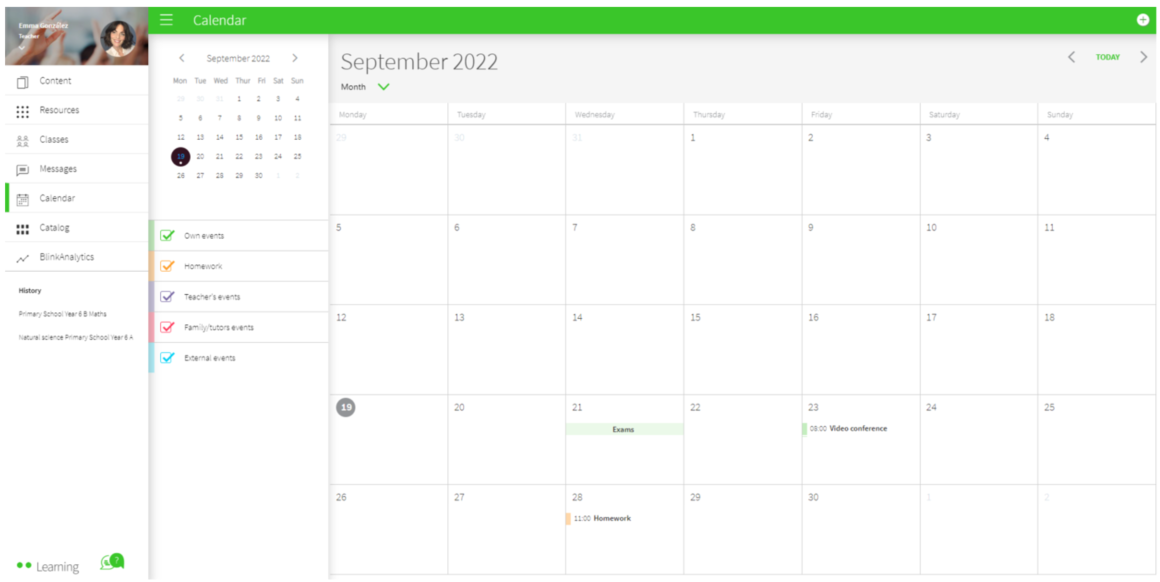
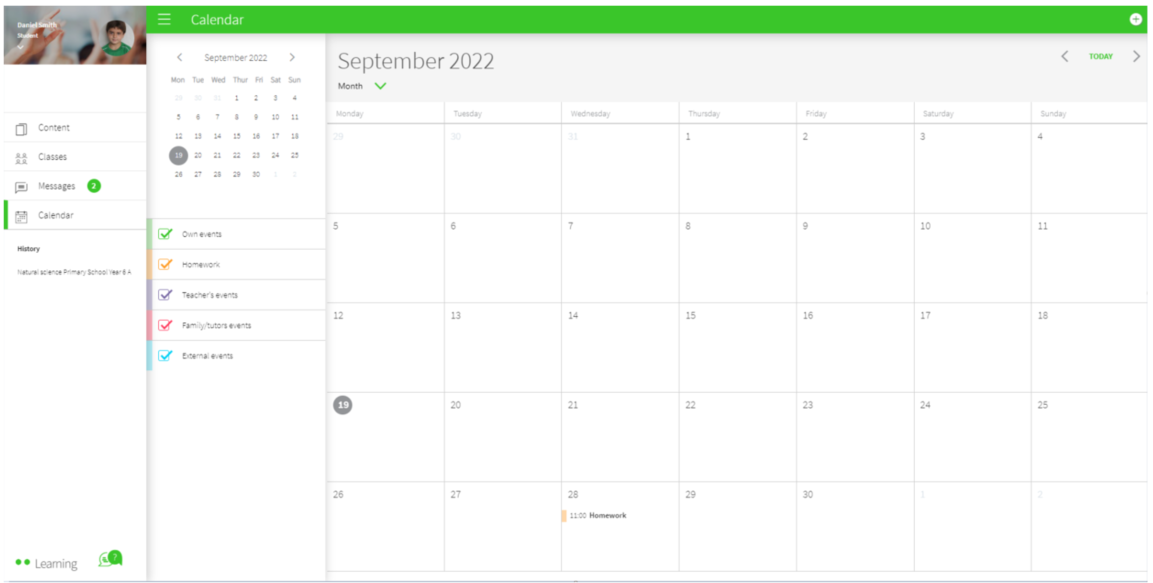
2 - STUDENTS: They will also be able to find the event in the Calendar tab, and they can access it through that same link.
|

|
← Ask any questions you may have about your BlinkLearning profile here
|
|
All BlinkLearning
video tutorials here →
|

|